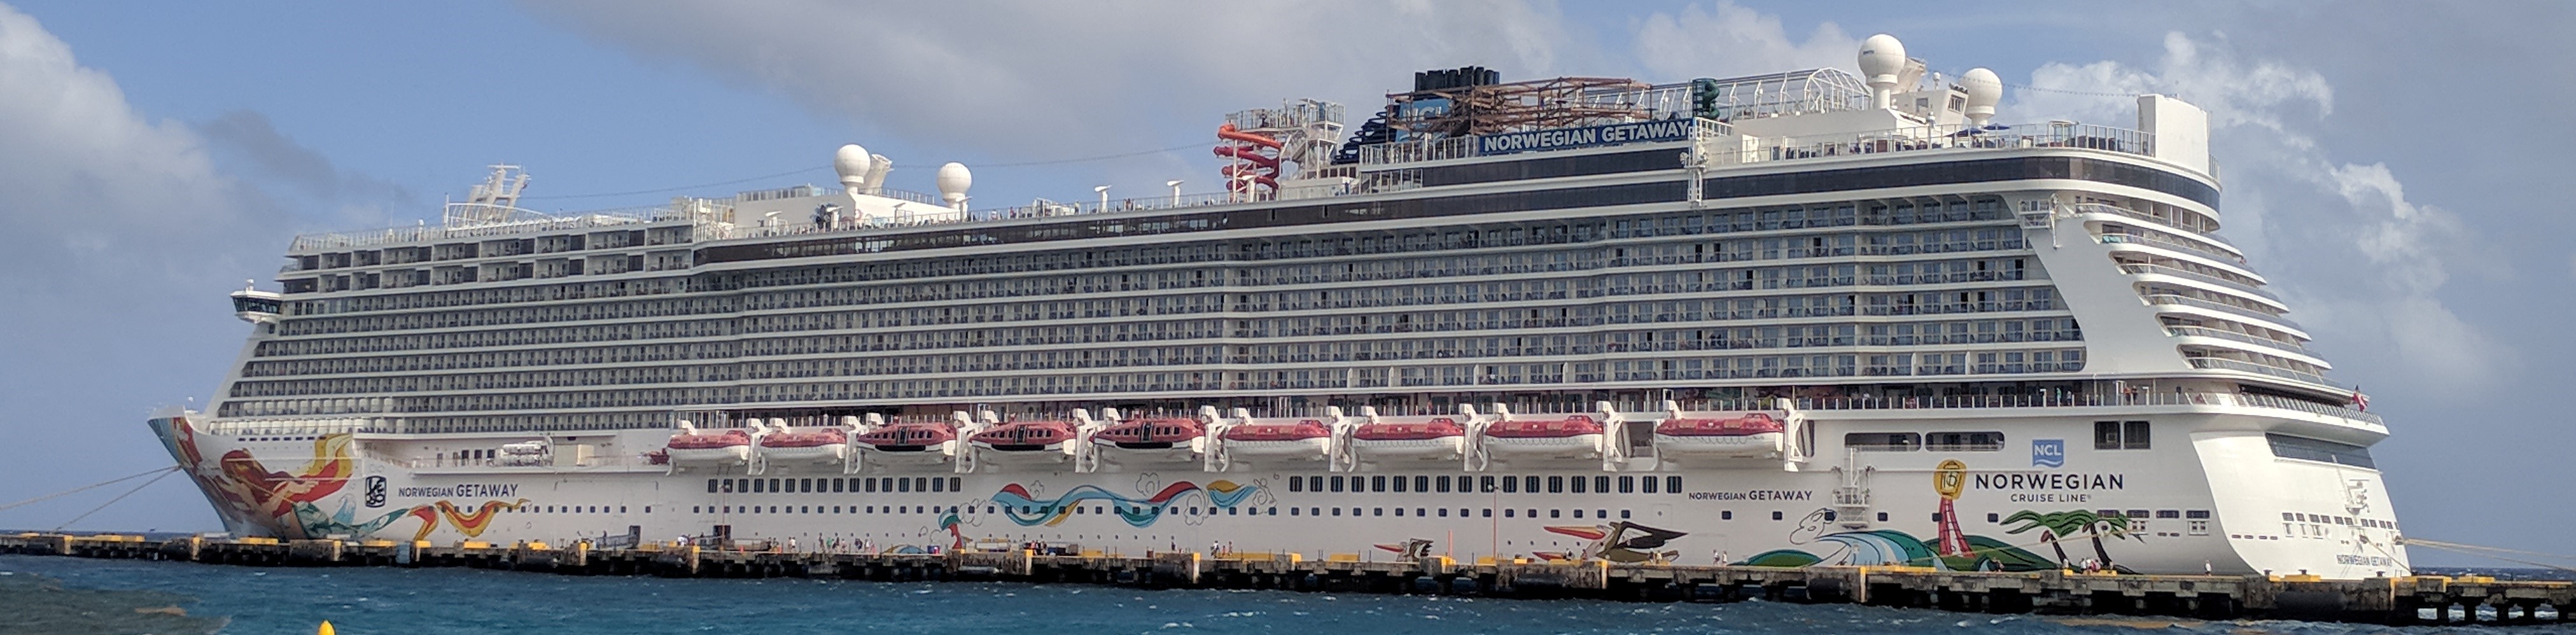
This post is part 3 in a series of 7 about our vacation on the NCL Getaway, from February 18-25, 2018. You can read the other parts here:
Day 2 at sea: Rock the boat
The downside of being at the extreme front end of the ship was apparent in the early hours of Monday, when we were jolted awake overnight several times with cabinets rattling and above-average movement of the ship. Both of us woke up at 5am and tried to get back to sleep, then later awoke at 9am to different kinds of noises: a high-pitched, whistling, wind sound from the front door, accompanied by low-pitched, repetitive bass from the cabin next to us.
It turns out that when your cabin is directly at the end of a long hall, the design of the passageway causes an effect not dissimilar to that of a wind tunnel. Kayla, who has less tolerance for soothing ocean sounds than I do, gave the cabin door a mighty hipcheck to silence the noise.
Unfortunately, this action only remedied half of the problem – I was still very conscious of the bass line emanating from the next cabin over. Eventually I was irritated enough to get up and on with my day, while my wife was able to ignore the low frequency and fall back asleep. Upon exiting the cabin, the stateroom beside us had its door slightly ajar, leaking the cacophony of noise into the hall as well.
I’m really not sure what to do in these circumstances – it didn’t feel worth a complaint, and I think the price difference between the rooms (Haven vs. oceanview) might make the staff more reluctant to enforce any sort of noise bylaw. In any event, I don’t recall similar morning music happening for the rest of the cruise, so the problem didn’t come up again.
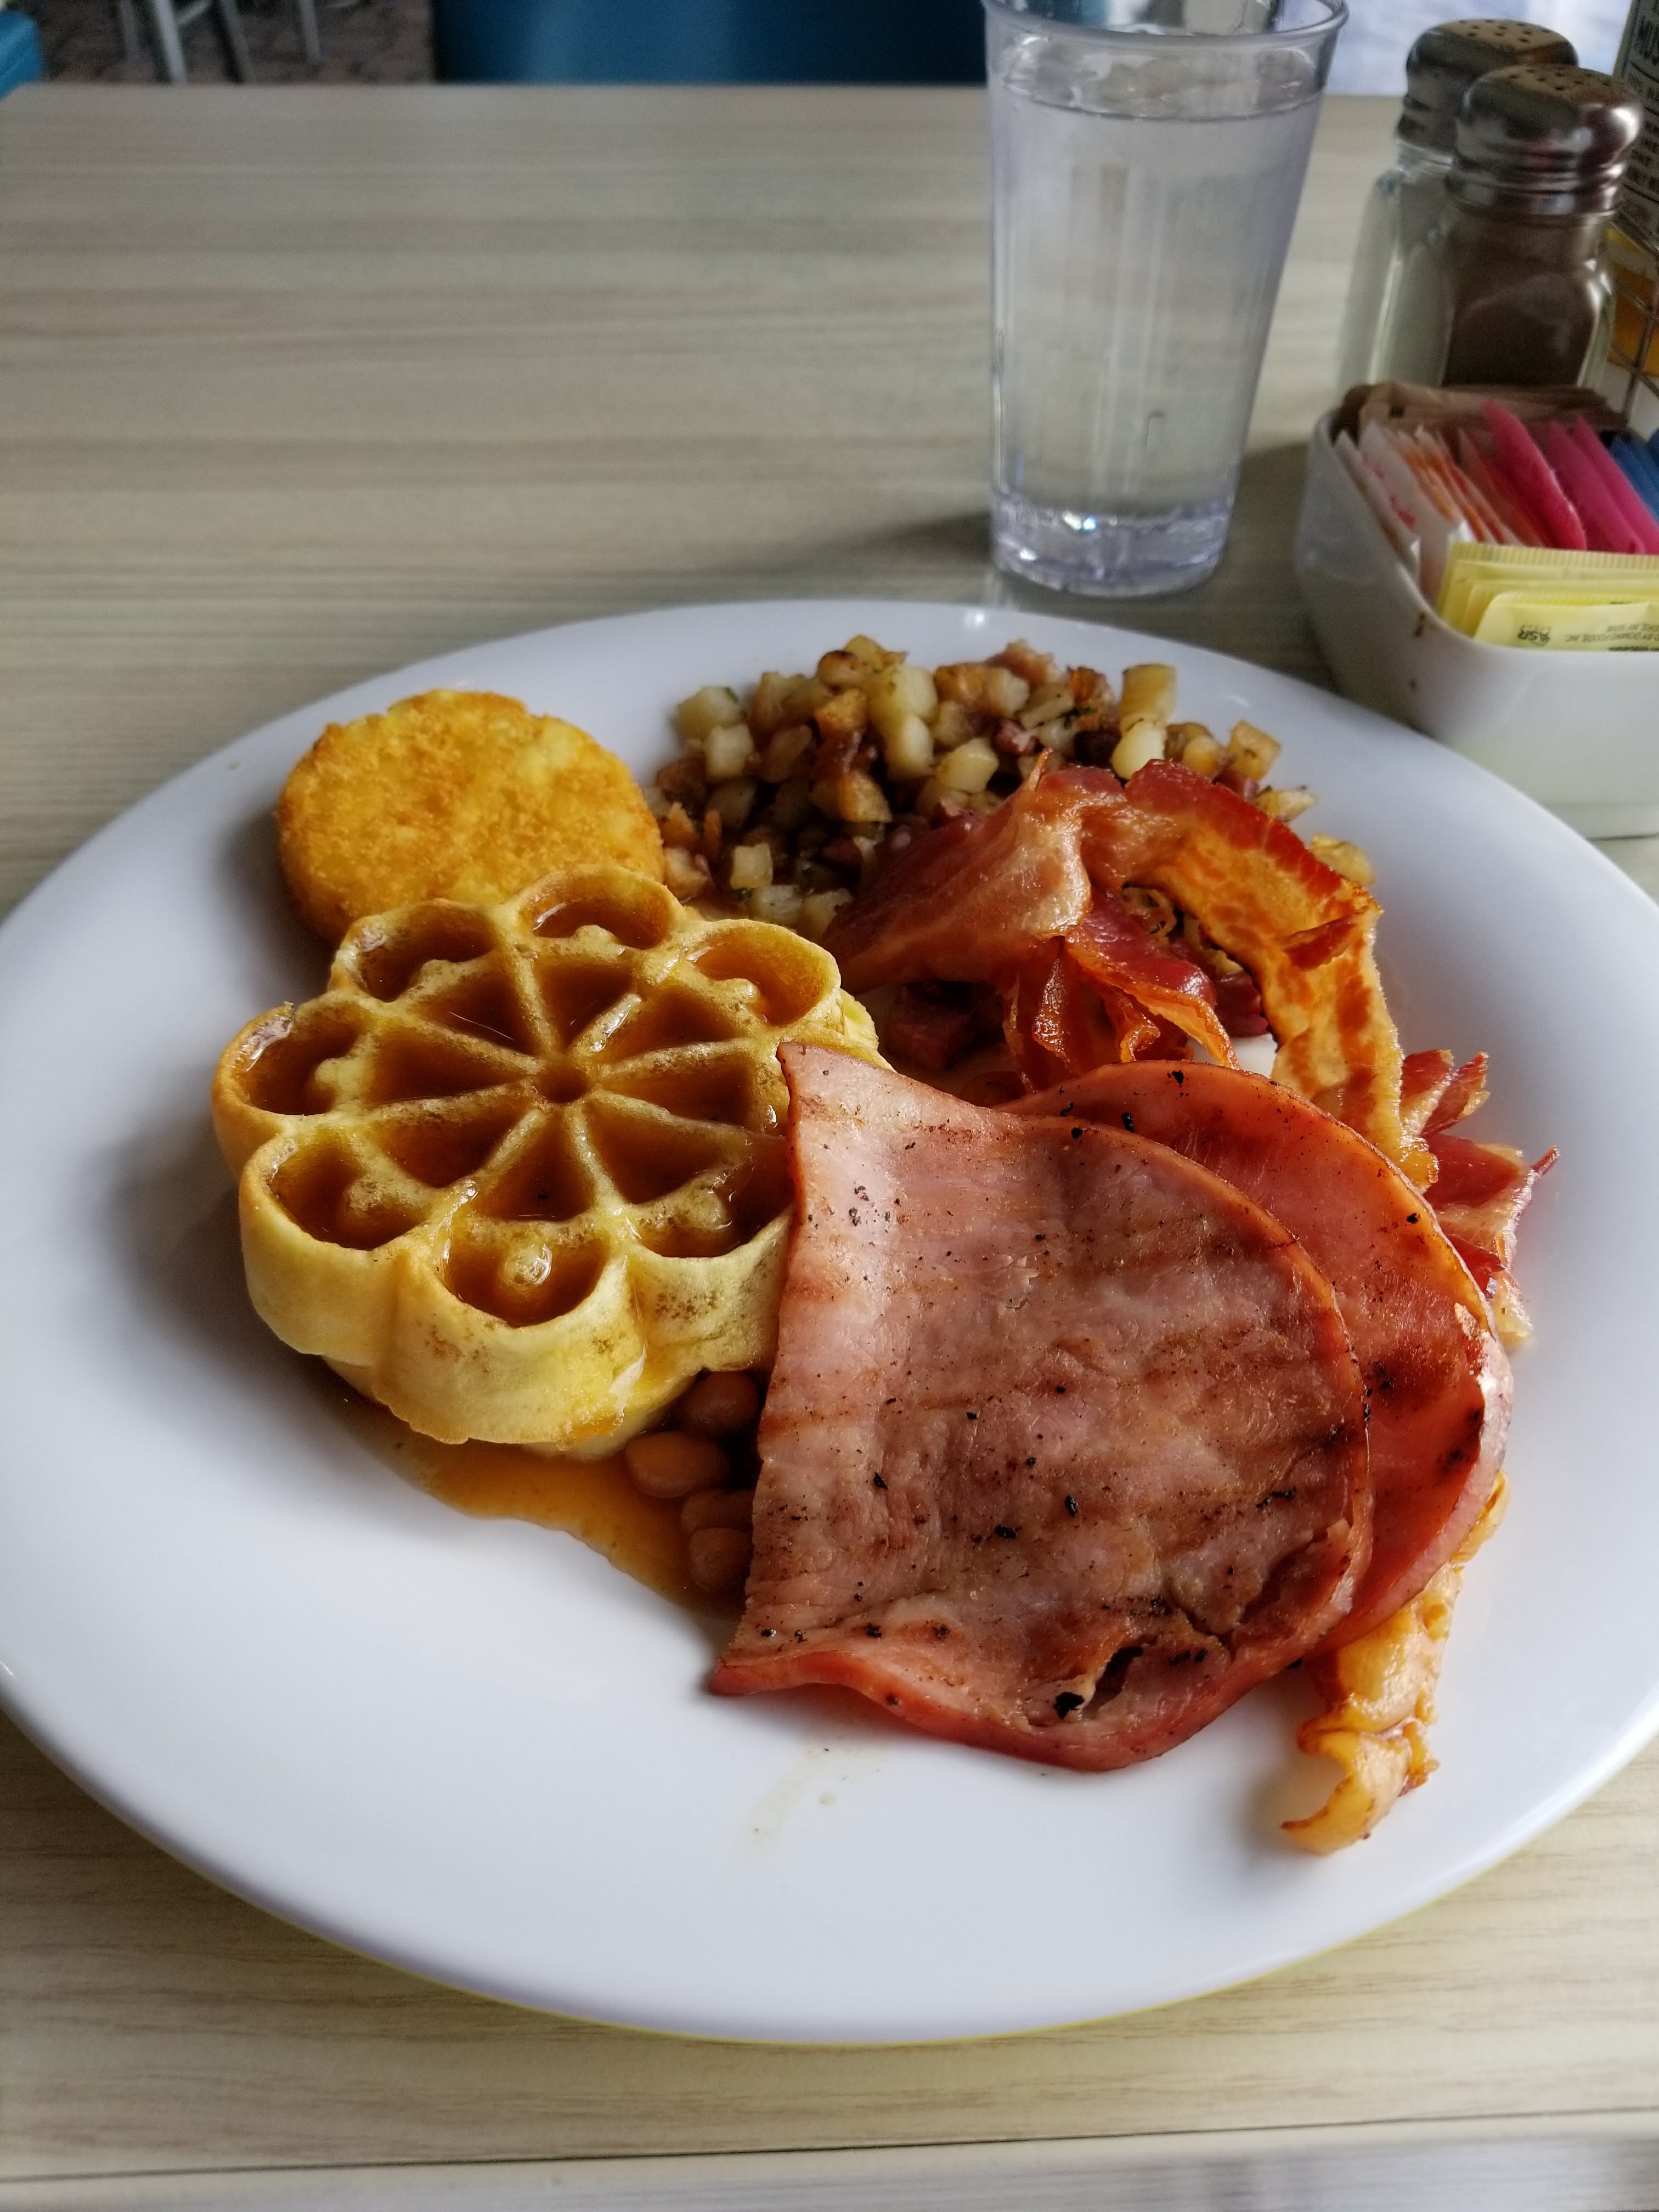
I ambled up to the buffet and encumbered my plate with pork, waffles and potato products. Very shortly after I sat down, a server came over and offered coffee right at the table, which was a nice perk.